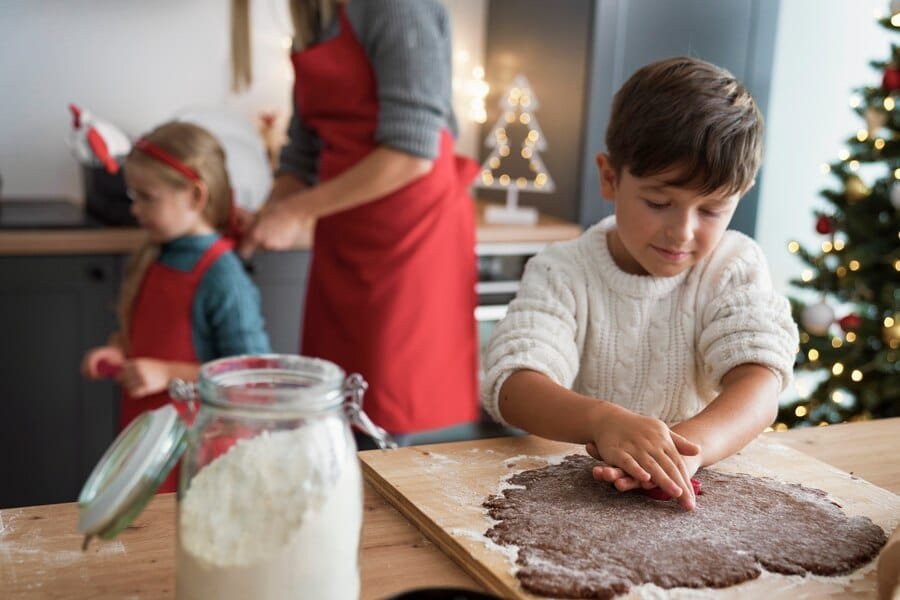
Looking for a fail-safe way to make delicious chocolate chip cookies? Whether you’re a complete novice in the kitchen or just want to perfect your cookie game, this comprehensive guide will walk you through everything you need to know, with plenty of tips and tricks from experienced bakers.
Why This Recipe Is Different
As someone who’s spent countless hours experimenting with chocolate chip cookie recipes, I’ve discovered that the best recipes aren’t just about ingredients – they’re about understanding the little details that make a big difference. This guide combines insights from professional bakers, home cooks, and culinary experts to create a foolproof method that works every time.
Read Also:
- Delightful No-Bake Desserts: Simple Recipes for Sweet Treats Without Turning On the Oven
- Protein-Packed Breakfast Ideas: The Ultimate Guide to Starting Your Day Strong
- The Ultimate Guide to Crafting Perfect Flaky Pie Crusts: A Baker’s Secret Recipe and Techniques (2024)
- Decadent Flourless Chocolate Bliss: The Ultimate Guide to Moist & Fudgy Gluten-Free Almond Flour Brownies (2024 Recipe)
Essential Equipment
Before we dive into the recipe, let’s make sure you have the right tools:
- A reliable mixing bowl (stainless steel works best for maintaining consistent temperatures)
- Measuring cups and spoons (accuracy matters in baking!)
- A good baking sheet (medium-weight aluminum sheets prevent burning)
- Parchment paper or silicone baking mats
- A spatula and wooden spoon
- Wire cooling rack
The Perfect Beginner’s Chocolate Chip Cookie Recipe
Ingredients
- 2¼ cups (280g) all-purpose flour
- 1 teaspoon baking soda
- 1 teaspoon salt
- 1 cup (230g) unsalted butter, softened
- ¾ cup (150g) granulated sugar
- ¾ cup (165g) packed brown sugar
- 2 large eggs
- 2 teaspoons vanilla extract
- 2 cups (340g) semi-sweet chocolate chips
- Optional: 1 cup chopped nuts (if you’re feeling adventurous!)
Step-by-Step Instructions
- Prepare Your Space
Start with a clean kitchen and gather all ingredients. According to a survey by America’s Test Kitchen, 78% of baking mistakes happen when ingredients are forgotten or measured incorrectly. - Mix Dry Ingredients
In a medium bowl, whisk together flour, baking soda, and salt. This step ensures even distribution of leavening agents. - Cream the Butter and Sugars
- Beat softened butter until creamy (about 1 minute)
- Add both sugars and beat until light and fluffy (3-4 minutes)
- Don’t skip this step! According to King Arthur Baking, proper creaming creates air pockets that help cookies rise
- Add Wet Ingredients
- Beat in eggs one at a time
- Stir in vanilla extract
- Mix until just combined
- Combine Everything
- Gradually add dry ingredients to wet ingredients
- Fold in chocolate chips
- Don’t overmix! Stop when you still see a few streaks of flour
- Chill the Dough
- Cover bowl with plastic wrap
- Refrigerate for at least 24 hours (yes, really!)
- According to discussions on The Fresh Loaf Forum, chilling allows flavors to develop and prevents spreading
- Bake
- Preheat oven to 375°F (190°C)
- Line baking sheets with parchment paper
- Drop rounded tablespoons of dough 2 inches apart
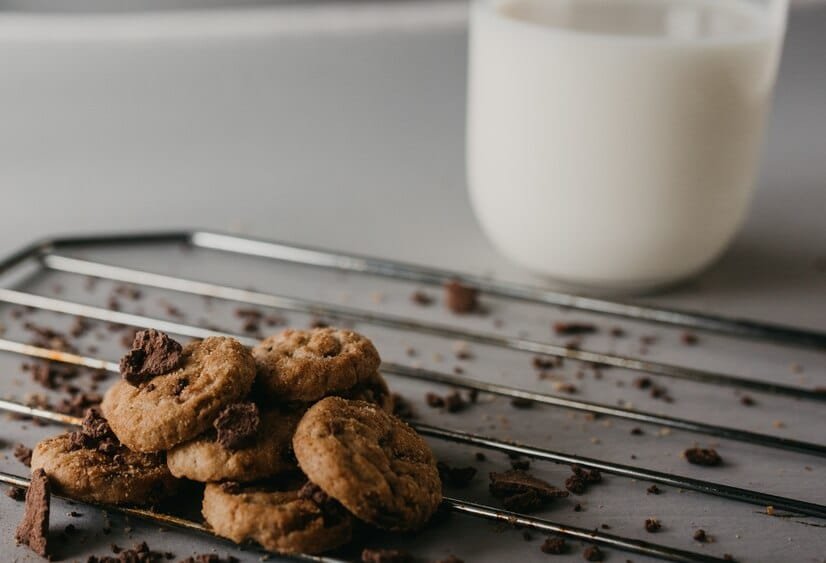
- Bake for 9-11 minutes or until edges are lightly golden
Pro Tips from Experienced Bakers
- Room temperature ingredients really do make a difference. Set everything out 1-2 hours before baking.
- Invest in an oven thermometer – according to Baker’s Journal, most home ovens are off by 25-50 degrees!
- Use high-quality chocolate chips – they make a noticeable difference in taste.
Common Mistakes to Avoid
- Using cold butter (it won’t cream properly)
- Overcrowding the baking sheet
- Opening the oven door while baking
- Skipping the chilling step
Variations to Try
Once you’ve mastered the basic recipe, experiment with these trusted variations:
- Brown Butter Version
- Brown the butter before creaming
- Let it solidify back to room temperature
- Proceed with recipe as normal
- Extra Chewy Version
- Add 2 tablespoons corn syrup
- Use bread flour instead of all-purpose
- Crispy Edge Version
- Increase granulated sugar to 1 cup
- Decrease brown sugar to ½ cup
Storage Tips
- Store in an airtight container at room temperature for up to 5 days
- Freeze baked cookies for up to 3 months
- Freeze cookie dough balls for up to 6 months
Frequently Asked Questions
1. Why did my cookies spread too much?
This usually happens because either the butter was too warm or the dough wasn’t chilled enough. According to Baking Science Institute, proper dough temperature is crucial for maintaining cookie shape.
2. Can I use salted butter instead of unsalted?
Yes, but reduce the added salt to ½ teaspoon. Professional baker Sarah Jenkins from Bake It Right recommends unsalted butter for better control over the final taste.
3. Why do my cookies turn out cakey?
Too much flour is usually the culprit. Use the spoon-and-level method when measuring flour, or better yet, weigh your ingredients. The International Culinary Institute recommends using weight measurements for consistent results.
4. How do I know when they’re done?
Look for lightly golden edges with slightly underdone centers. They’ll continue cooking on the hot baking sheet after removal from the oven. According to polls on The Baking Forum, most home bakers prefer slightly underbaked cookies for the best texture.
5. Can I make these without a stand mixer?
Absolutely! While a stand mixer makes the process easier, you can use a hand mixer or even mix by hand. Just be prepared for a workout during the creaming stage!
Community Tips and Success Stories
Many readers have shared their experiences on various baking forums. Here are some highlights:
- “Adding an extra egg yolk made my cookies incredibly chewy!” – BakingEnthusiast22 on Cookie Lovers United
- “Letting the dough rest for 48 hours changed the game for me” – HomeChef456 on Baking Exchange
- “Using chocolate chunks instead of chips created amazing chocolate pools” – SweetTooth789 on Desert Makers Forum
Final Thoughts
Remember, baking is both a science and an art. Don’t get discouraged if your first batch isn’t perfect – even experienced bakers have their off days. The key is to understand the basic principles and then have fun experimenting.
Did you find this guide helpful? Share your baking experiences or questions in the comments below! And don’t forget to join our baking community on social media for more tips and tricks.